In North America alone, the total sales value of butter and spreadable fats reached $5.76 billion in 2017. Of that amount, butter sales accounted for almost 45%.
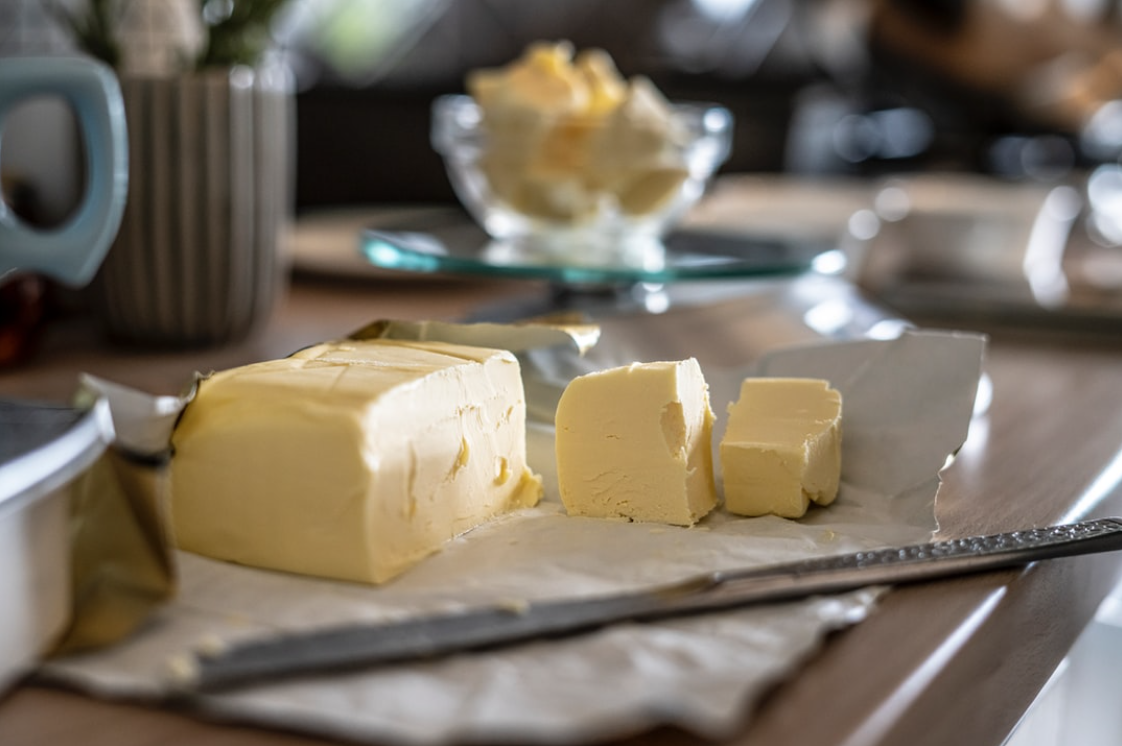
How to Make Your Own Butter as Prices Rise
The figures above show just how Americans love this creamy, delectable dairy product. In fact, in the US alone, the average consumer eats about 23 sticks of it a year! That sounds a lot, yes, but back in the 1920s, the average yearly consumption was 72 sticks.
With this dairy item being such a treat, it’s time to learn how to make your own butter. Especially since its price continues to soar. Within the last decade alone, the cost of butter in the US has gone up by over 40%.
Besides, making your own homemade butter means knowing what exactly goes into it. That’s a nice perk, especially if you want to reduce your preservative intake.
So, ready to learn all about butter making at home? Then let’s dive right into it!
Making Butter in a Mason Jar
One of the best things about making butter at home is that you can make it without any special tool. For this homemade butter recipe, you can use a 16-ounce mason jar. This will yield about half a cup (or one stick) of butter.
Do note that this method requires quite a lot of elbow grease though, as you’ll shake the jar for up to 10 minutes.
To start making the butter, pour one cup of heavy cream (with at least 38% fat content) into the mason jar. You can actually use any pint-sized jar or container that has a tight lid.
Once you’ve secured the lid, shake the jar or container for about five to seven minutes. Within the first couple of minutes, the liquid will transform into whipped cream. Continue shaking until you have a huge lump, and from there, shake for at least one more minute.
Place a sieve over a bowl and pour the jar’s contents over it. This will separate the liquid from the butter. Don’t throw the liquid — that’s actually buttermilk, which you can use to make fluffy pancakes.
Take the clumps of butter with your clean hands and squish it to extract any remaining liquid. Then, run some cold water over the ball of butter and squish it again. Do this for a couple more times.
After the second or third rinse, you’ll then have ready-to-eat homemade butter!
Using a Hand or Stand Mixer
Making butter in a jar is fun, but it’s not appropriate for larger batches. If you need more than a cup of butter, it’s best to whip out your hand or stand mixer.
To get a yield of at least one cup (two sticks) of butter, you’d need at least two pints of heavy whipping cream. Just multiply the recipe by two (if you need two cups of butter in one go) or reduce it by half (if you only need one stick).
Pour the heavy cream into the bowl attachment of your mixer. Start the machine at the lowest speed, so as to avoid sloshing the cream all over yourself. After about a minute, you can raise it to medium speed.
Just like making butter in a mason jar, the first minute or two will turn the liquid into whipped cream. You’ll then notice peaks forming, starting with soft peaks and eventually stiff peaks. Within the first five minutes, you’ll feel (if mixing by hand) or see (if using a stand mixer) something more solid.
This can take between five and 10 minutes, depending on how much cream you have in the bowl.
Once you’ve extracted as much of the butter as you can, use a sieve to separate the solids from the liquid. At this point, you can follow the same rinsing method as the one for making butter in a mason jar.
Flavoring and Storing Tips for Homemade Butter
As you may have noticed, the recipes above are for unsalted butter. If you want some salinity in it, you can add the salt after the rinsing phase. Fine salt incorporates faster and easier, but you can also use sea salt if that’s what you fancy.
Either way, salting your butter will make it last longer, as it’s a form of preservation, after all. However, be careful when adding salt — a sprinkle at a time is the best way to avoid adding too much of it. It’s easy to increase salinity, but it’s almost impossible to fix an overly-salty butter.
It’s also best to let the cream get to room temperature before you start shaking or mixing it. At this temperature level, it takes less time to separate the solids from the liquid.
If you want to make regular or compound butter the fastest way, you can use a butter maker. Compound butter is any butter with supplementary ingredients, such as herbs and spices. Chives, spring onions, basil, parsley, rosemary, thyme, sage, dill — you name it, you can add it to compound butter.
As for long-term storage, the freezer is the best way to go. Freezing helps to stave off rancidness for two to three months.
Be sure to wrap the butter in foil first before sliding it inside a resealable freezer bag. This will help lock in the freshness and also help incorporate the flavors of added spices and herbs.
Read Also: 7 ‘Hot for Summer’ Foodie Finds – Food & Beverage Magazine
Master the Art and Science of How to Make Your Own Butter Now
There you have it, your ultimate guide on how to make your own butter at home, with or without special tools! Start with the basics first, and once you get the hang of it, you can then experiment with compound butter.
Want to stay updated on the latest recipes or news in the food and beverage industry? Then feel free to bookmark, like, and share Food and Beverage Magazine online!